Kontaktformular.com
Advanced Form Script for Your Website
Built with HTML, CSS, JavaScript & PHP - Fully customizable
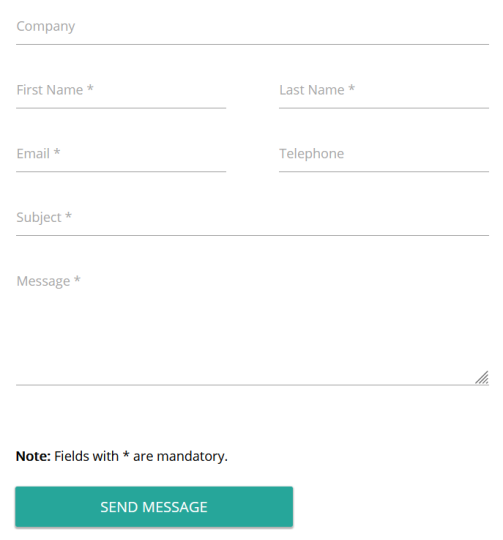
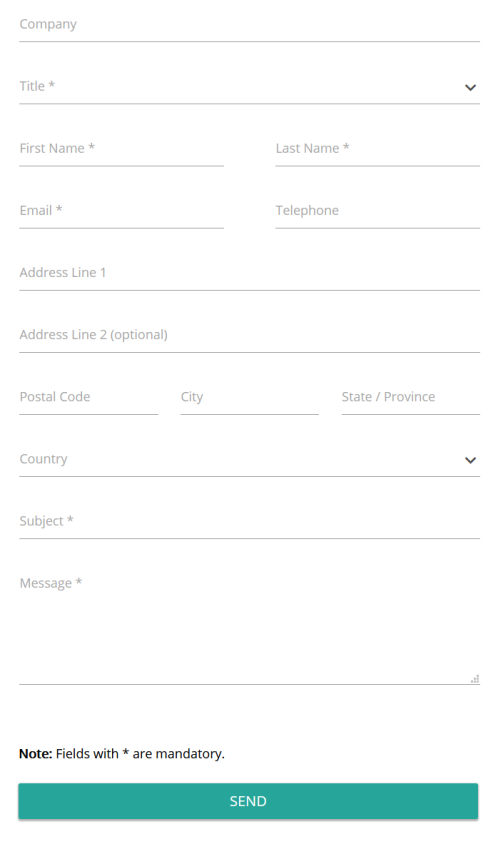
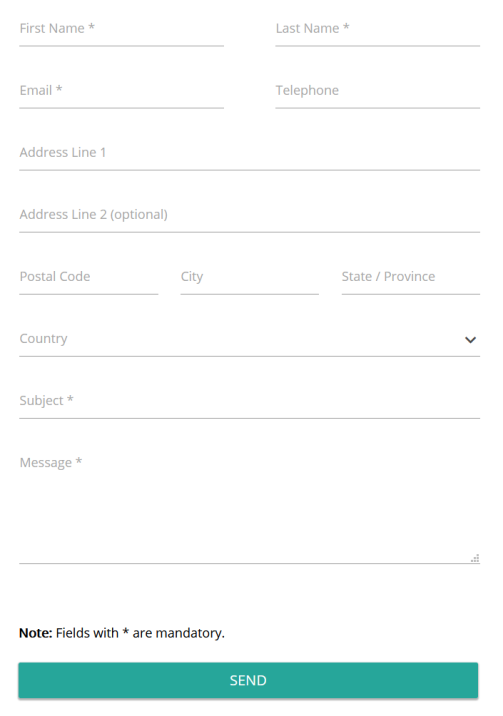
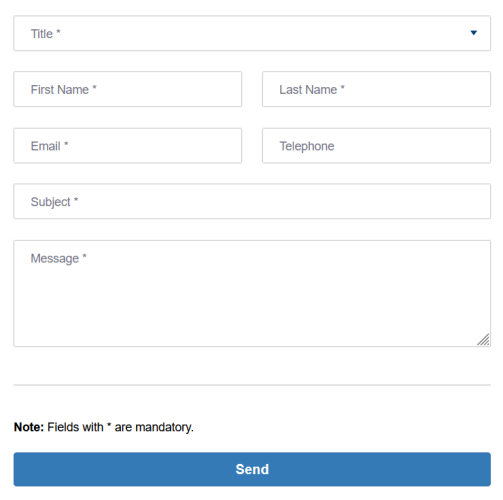
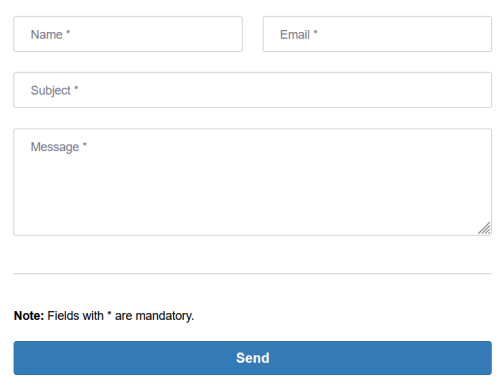
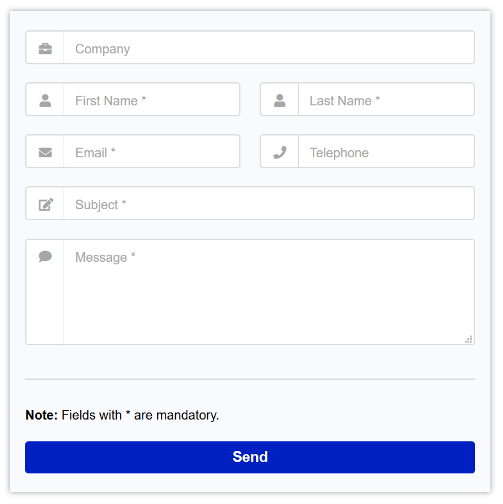
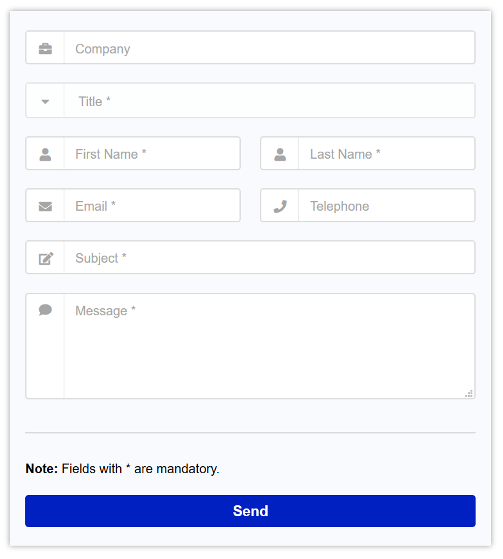
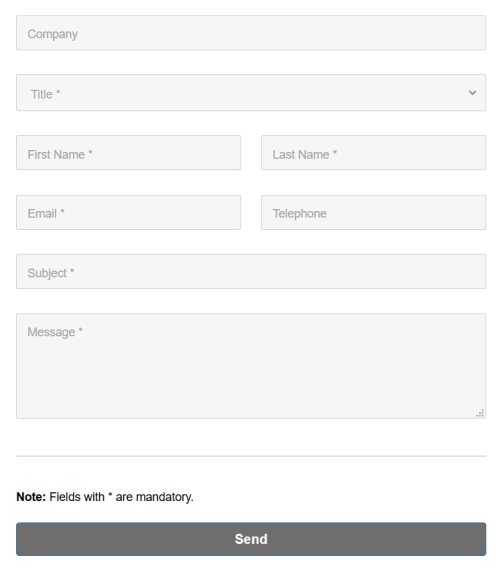
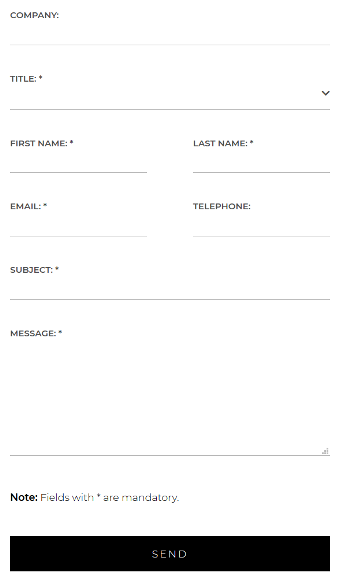
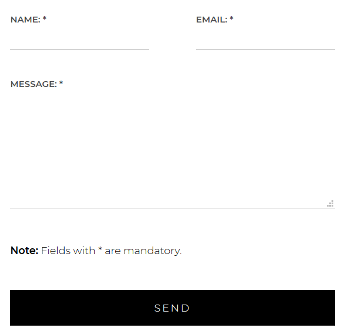
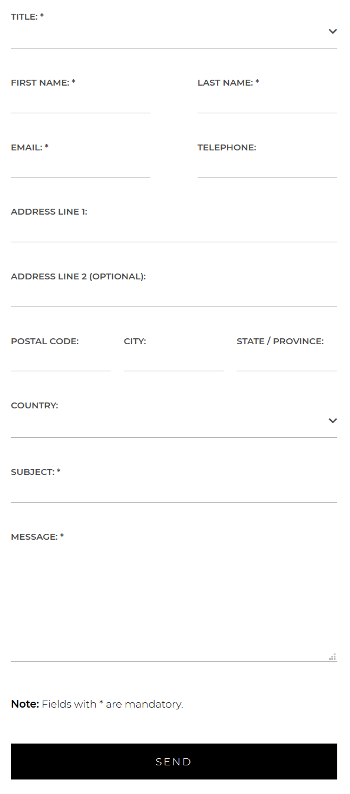
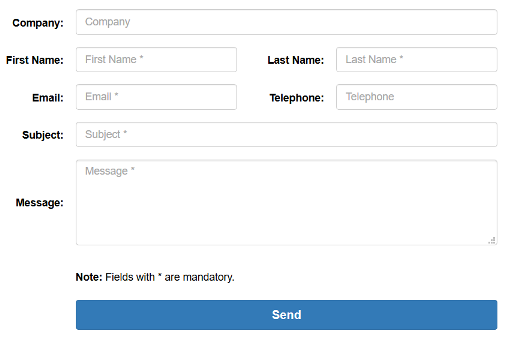
Download Contact Form – Choose a Suitable Template
Each download package includes the contact form script with all available features. You can optionally activate and deactivate the consent to the data privacy policy (GDPR).
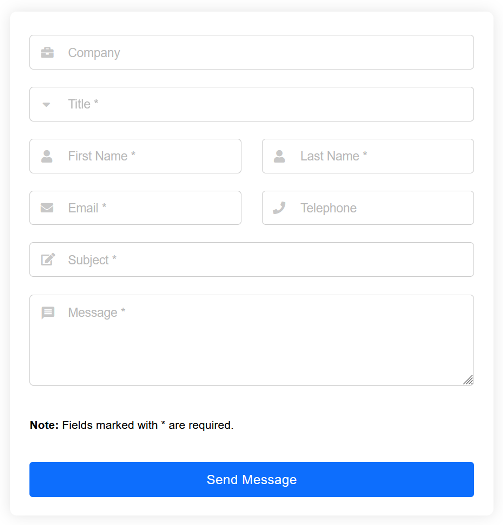
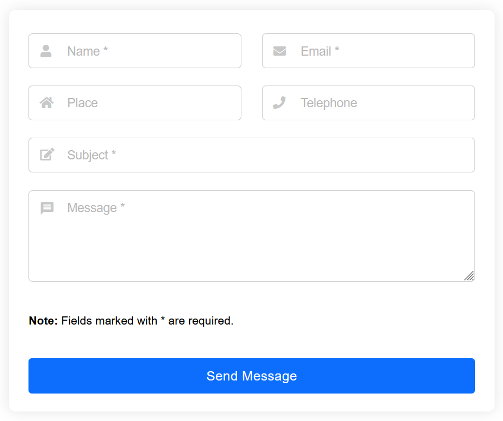
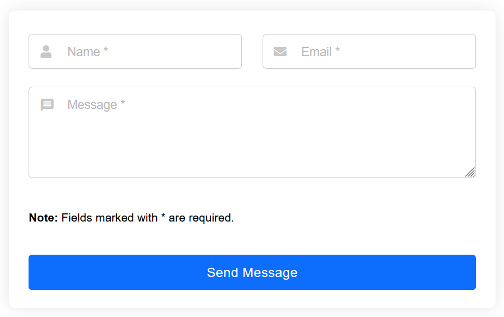
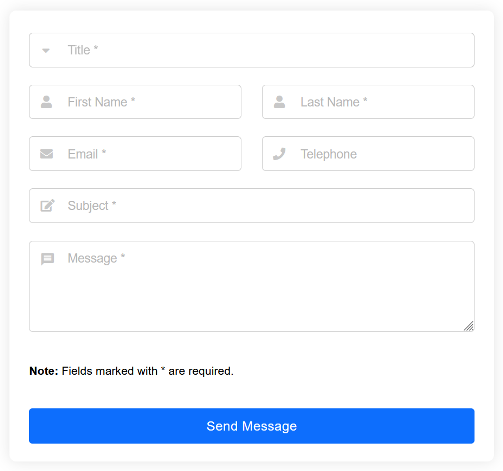
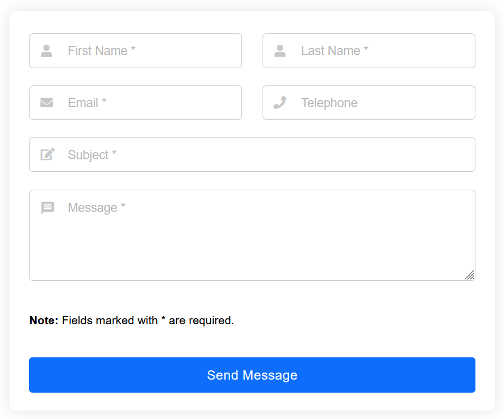
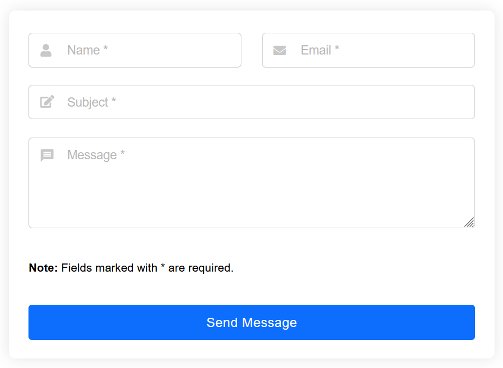
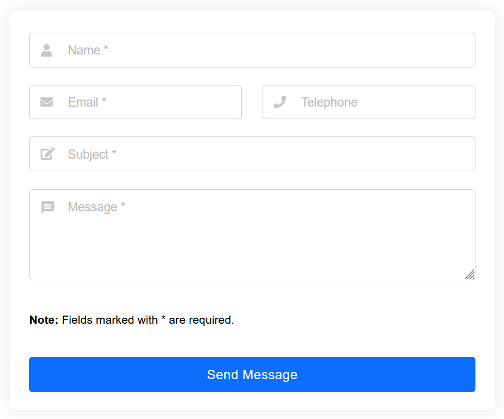
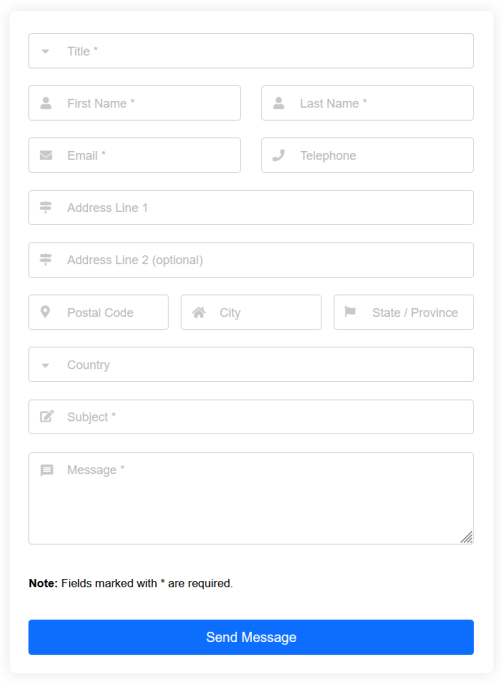
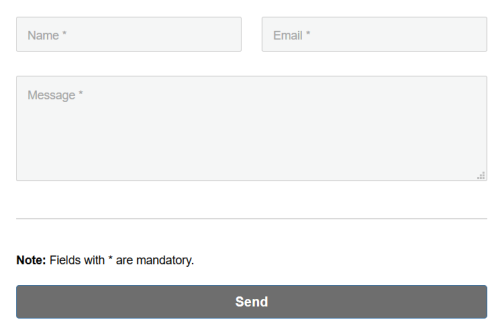
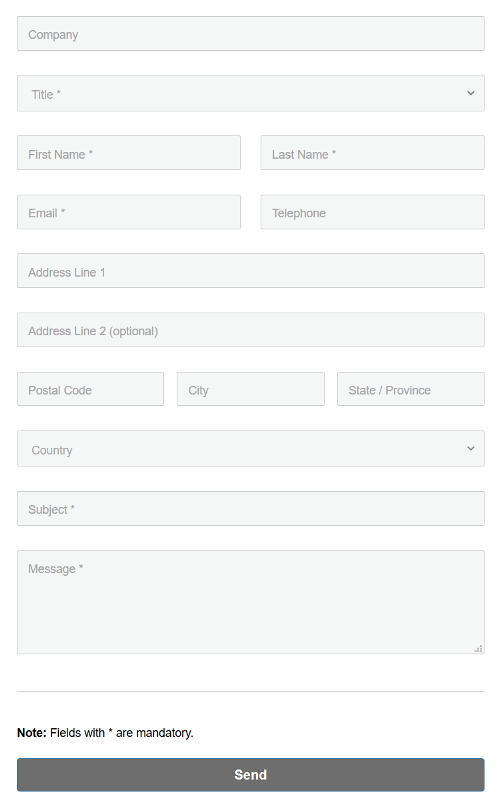
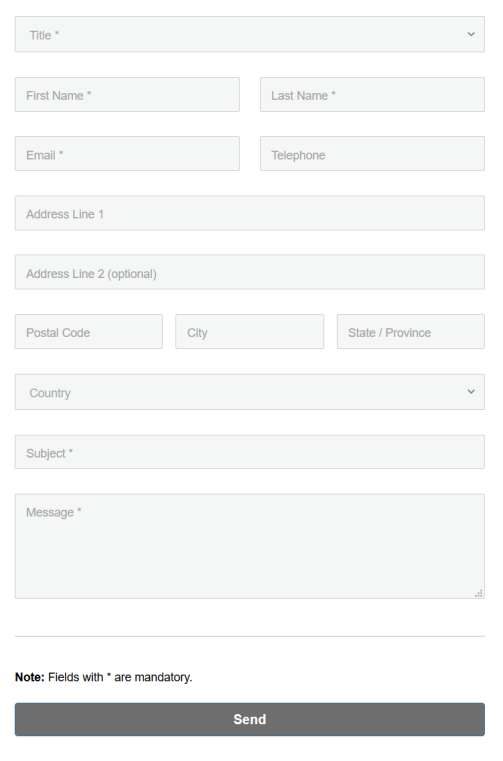
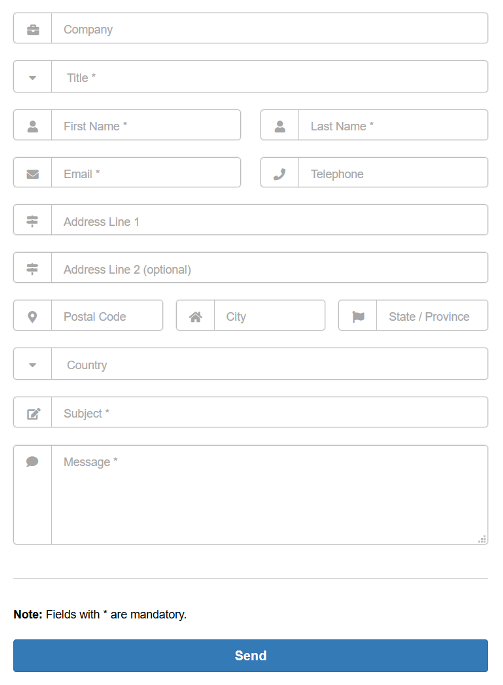
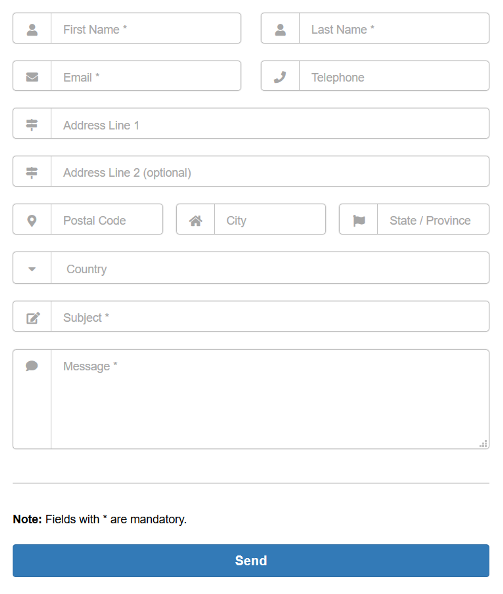
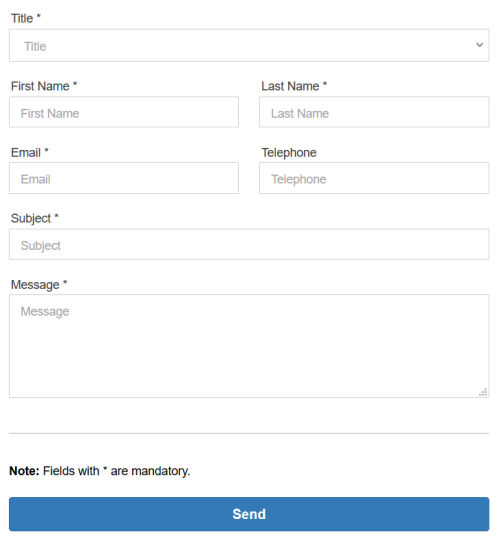
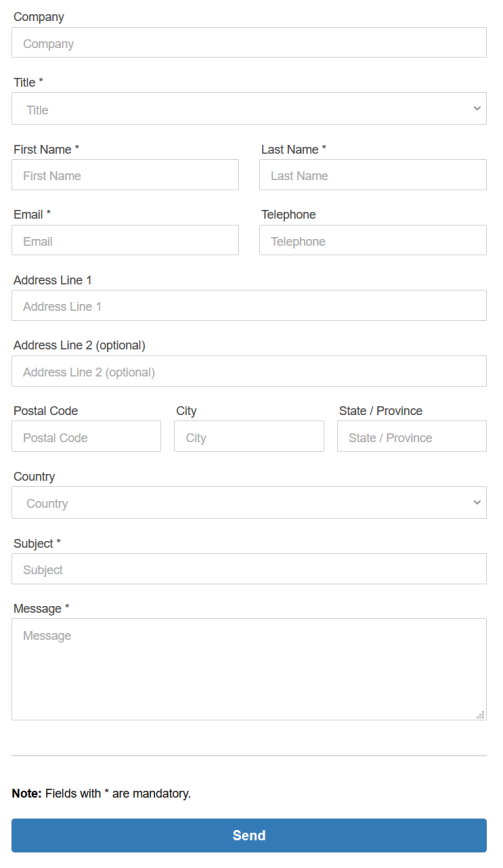
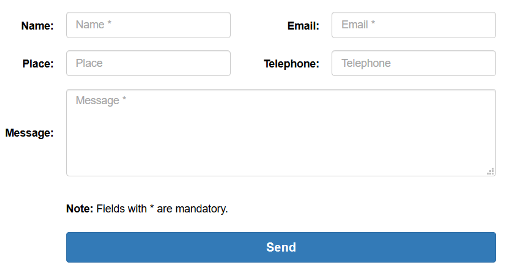
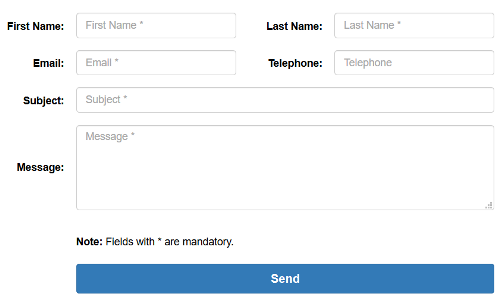
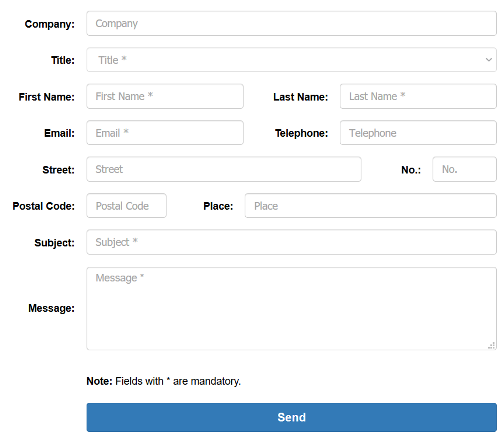
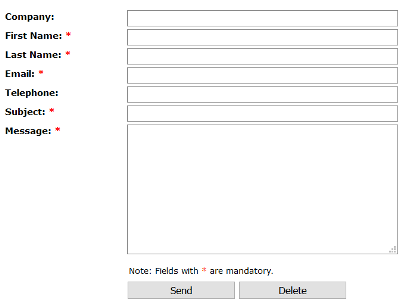
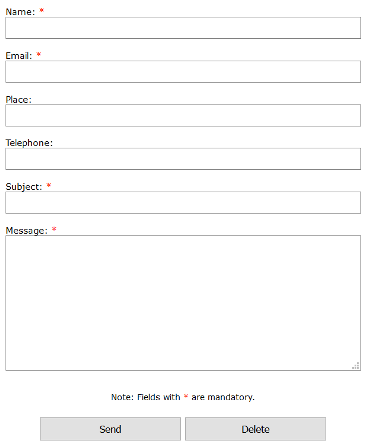
The Advanced Version, the Standard Version, and the Minimalistic Version differ only in their appearance. All versions include the full range of functions. You can also use our contact form tutorial to easily create a contact form based on our form script.
The contact form requires at least PHP 7.4 or higher. (PHP 8.3 compatible!)
Download your (responsive) HTML contact form code for your homepage today! It is mobile friendly and includes email upload and spam protection (captcha) functions!
(July 28, 2024)
Numerous optimizations have been implemented in the contact form script and on the website over the past few months. The script now optionally offers the ability to activate an immediate success message and a loading spinner via the file config.php. Additionally, a security vulnerability has been fixed in the script: Cross-Site Scripting was possible through the action attribute. Furthermore, there are no longer any external paths in the script. The jQuery library and external stylesheets are now integrated locally. By integrating them locally, current data protection laws (see GDPR) are taken into account. Numerous design optimizations have been made to Template 1, giving it a significantly better appearance. The website has been revamped and now offers better overall usability, making for a more pleasant reading experience. On the Hosting Check page, you can find information about the hosting providers where the contact form has been successfully tested. The list of hosting providers is regularly updated. Our FAQ page and the tutorial page have also been updated.
GDPR / Google Fonts
(October 25, 2022)
The Google Fonts will now be locally embedded due to the current GDPR jurisprudence. We recommend all users who are bound by the GDPR to download the updated script. All templates are affected by the update.
Floating Label Feature
(May 1, 2022)
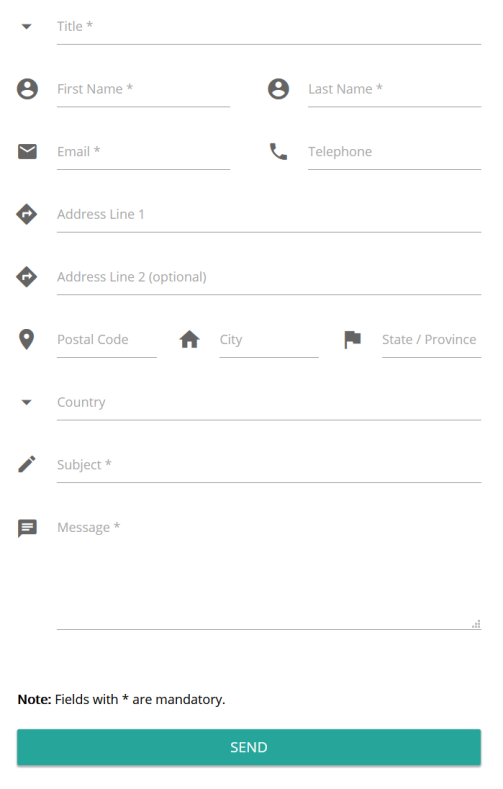
The floating label feature is an important element of interactive forms. So you are welcome to use our template 4 with this nice effect.
Google Material Design
(January 15, 2021)
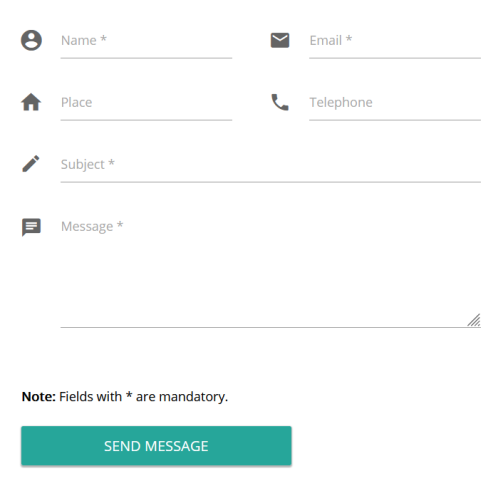
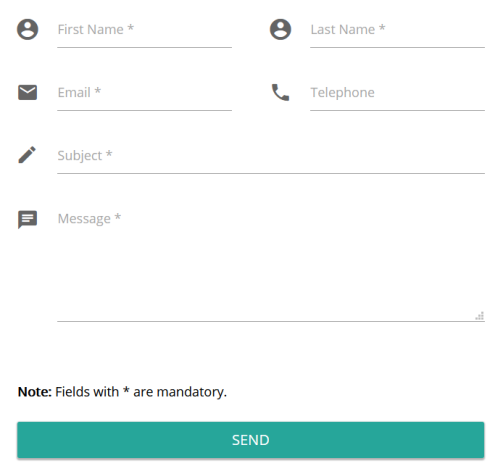
You are welcome to use our new templates. The design of template 2 and 3 is simple, clean and modern. It is similar to Google's Material Design.
New template
(July 1, 2020)
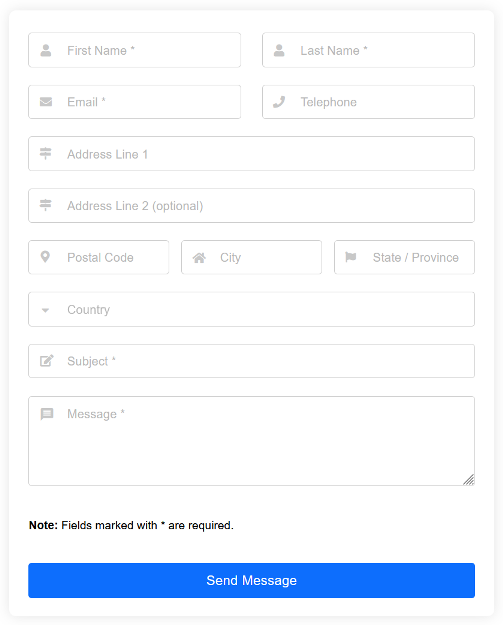
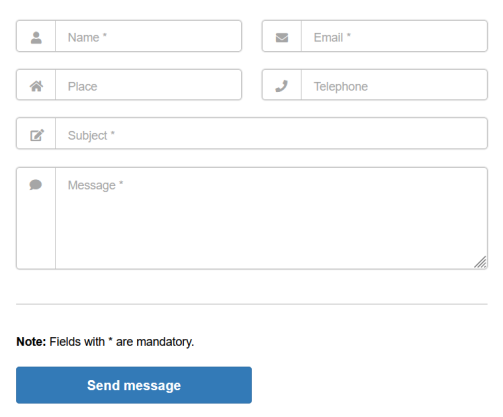
Template V stands out with its modern and innovative design. This template was created using current web technologies such as JavaScript, HTML5, and CSS3. The icons by Fontawesome for the input fields and selection boxes are a visual treat that enhance the overall design. You can start using the PHP form script with this attractive template right away!
Spam protection update
(March 26, 2019)
Starting today, you can also deactivate the visible spam protection function (captcha). You also have five other options to effectively fend off spam: honeypot, time-out, click check, link blocker, or the bad word filter.
Template VI
(Dec 24, 2018)
Template VI has been published. It impresses with its modern responsive design and versatile range of applications.
SMTP function
(Oct 22, 2018)
We’ve integrated the PHP mailer class. Now you can use the contact form with SMTP!
Template V
(Oct 13, 2018)
The responsive form Template 5 is now available.
GDPR compliant
(May 25, 2018)
The contact form complies with the current data protection regulations of the EU (GDPR or General Data Protection Regulation). You can activate or deactivate the data privacy policy information in the config.php file.
Tutorial file
(June 25, 2017)
You can now also create an individual and responsive contact form based on our form script. Check out our tutorial!
PHP 7 Ready
(Dec 14, 2016)
The attachment / file attachment function now also runs with PHP 7.0. We reworked the mail function and moved it to a separate PHP function.
Compatible with mobile devices
(Nov 08, 2016)
The contact form now has a responsive design and is compatible with smartphones and tablets. The design automatically adapts to the resolution and display size of the device.
HTML Basics: Creating a Contact Form
In this HTML tutorial, we will show you how to create the HTML structure for a contact form script. The explanations in the tutorial can be easily followed with ChatGPT. An AI like ChatGPT can assist you in creating an HTML contact form if you need a very simple contact form script. On our site, we already offer a ready-made contact form script for download. Benefits: Many contact form templates (something for every website!); great features and excellent spam protection!

The Form Tag
In HTML, the form tag is used for forms. The form tag has an opening and a closing tag.
Within the opening tag, you can use the attribute "method" to specify whether you want to retrieve data from a server or submit data through the form. Since you want to submit data with a contact form, you would enter "post" here.
<form method="post"></form>
The Input Tag
For the small input fields of your contact form, you use the input tag. The input tag is a standalone tag and therefore does not require a closing tag.
Within the input tag, you can use the attribute "type" to specify the function of your input field. For the email input field, you would enter "email" here, and for a text input field, "text".
<input type="text">
<input type="email">
The Textarea Tag
For the large text field of your contact form, you use the textarea tag. This tag has an opening and a closing tag.
Within the opening tag, you can use the attribute "rows" to specify how many rows your text input field has. If you want your input field to be 7 rows high, you would enter the number "7" here.
<textarea rows="7"></textarea>
The Label Tag
Now, you should give each of your input fields a label, as otherwise, the visitors of your website won't know which information belongs in which field.
For this, you use the label tag in forms. The label tag has an opening and a closing tag. You then insert the respective text between the opening and closing tags.
<label>Name:</label>
<input type="text">
<label>Email:</label>
<input type="email">
<label>Subject:</label>
<input type="text">
<label>Message:</label>
<textarea rows="7"></textarea>
The "name" Attribute
Finally, you should give each of your input fields a name so that your server can understand which information is in which field. For this, you use the attribute "name".
<label>Name:</label>
<input type="text" name="name">
<label>Email:</label>
<input type="email" name="email">
<label>Subject:</label>
<input type="text" name="subject">
<label>Message:</label>
<textarea rows="7" name="message"></textarea>
Setting Required Fields
If your contact form contains required fields, you can define them using the attribute "required".
<label>Name:</label>
<input type="text" name="name">
<label>Email:</label>
<input type="email" name="email" required>
<label>Subject:</label>
<input type="text" name="subject">
<label>Message:</label>
<textarea rows="7" name="message" required></textarea>
Adding a Button
Finally, you need to add a button to your contact form. For buttons, you use the button tag. This tag has an opening and a closing tag.
Within the opening tag, you must specify the attribute "type="submit"" to indicate that this is the submit button.
Between the opening and closing tags, you can insert any text that will be displayed on your button.
<button type="submit">Submit Now!</button>
Then save your HTML file and open it in a browser.
The HTML Code
<form method="post">
    <label>Name:</label>
    <input type="text" name="name"> <br>
    <label>Email:</label>
    <input type="email" name="email" required> <br>
    <label>Subject:</label>
    <input type="text" name="subject"> <br>
    <label>Message:</label>
    <textarea rows="7" name="message" required></textarea> <br>
    <button type="submit">Submit Now!</button>
</form>
Now the HTML structure of your contact form is complete. To make the contact form functional, you need PHP. You can use the contact form from kontaktformular.com or create a contact form with ChatGPT. On kontaktformular.com, you will find a ready-made contact form script that uses HTML, CSS, JavaScript, and PHP.
The create-forms.html file:
<!DOCTYPE html>
<html lang="en-US">

<head>
    <meta charset="utf-8">
    <meta name="viewport" content="width=device-width, initial-scale=1.0, maximum-scale=1.3, user-scalable=yes">
    <meta name="description" content="This is the index.html file from the HTML basics course.">
    <meta name="keywords" content="html, basics course, tutorial, youtube">

    <title>Index - HTML Basics Course</title>

</head>

<body>

    <header>

        <ul>
            <li> <a href="./index.html">Home</a> </li>
            <li> <a href="./format-text.html">Format text</a> </li>
            <li> <a href="./add-images.html">Add images</a> </li>
            <li> <a href="./create-links.html">Create links</a> </li>
            <li> <a href="./create-lists.html">Create lists</a> </li>
            <li> <a href="./create-tables.html">Create tables</a> </li>
            <li> <a href="./create-forms.html">Create forms</a> </li>
        </ul>

    </header>

    <div>

        <h1>Create forms</h1><br>

        <form method="post">
            <label>Name:</label>
            <input type="text" name="name"> <br>
            <label>Email:</label>
            <input type="email" name="email" required> <br>
            <label>Subject:</label>
            <input type="text" name="subject"> <br>
            <label>Message:</label>
            <textarea rows="7" name="message" required></textarea> <br>
            <button type="submit">Submit Now!</button>
        </form>

    </div>

    <footer></footer>

</body>

</html>
Click on the link "To the download page of..." to test the desired version of a template and, if needed, download it.
Available languages: