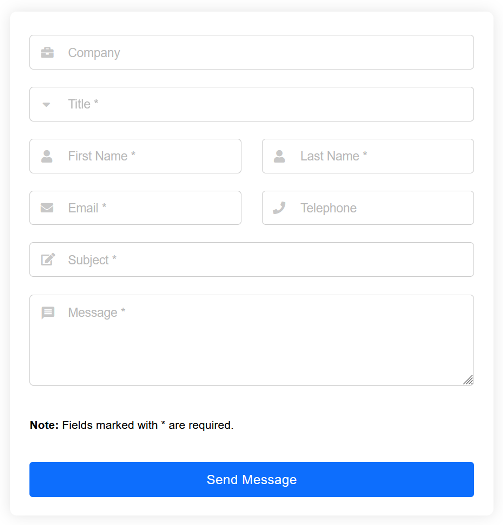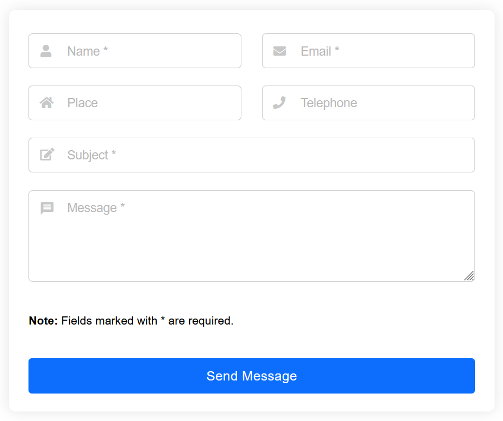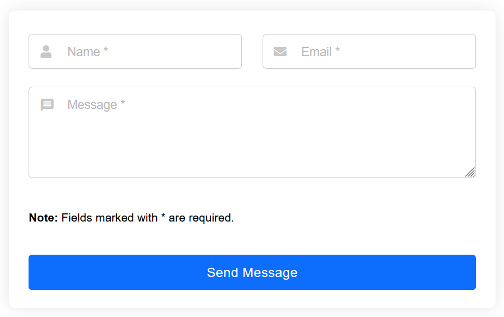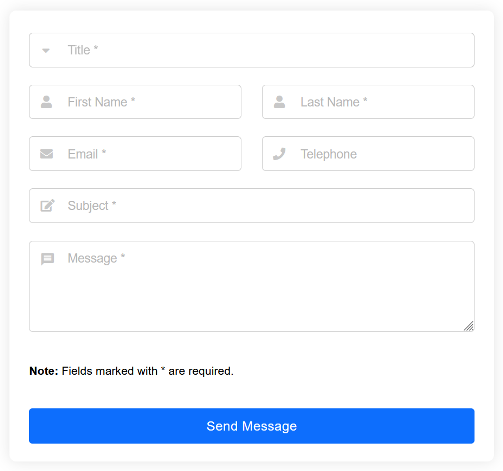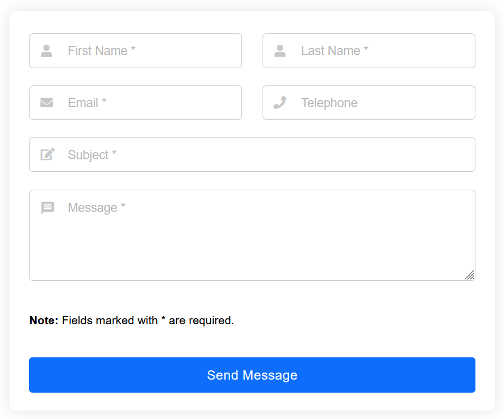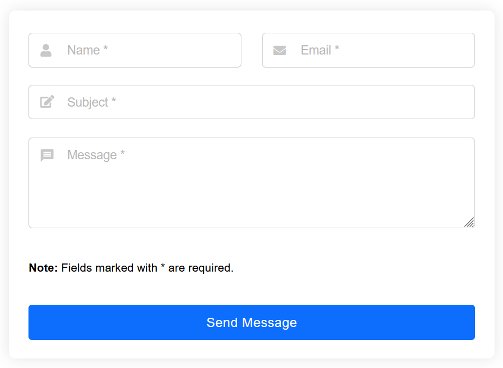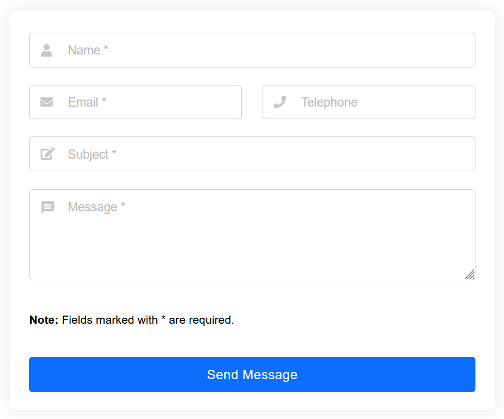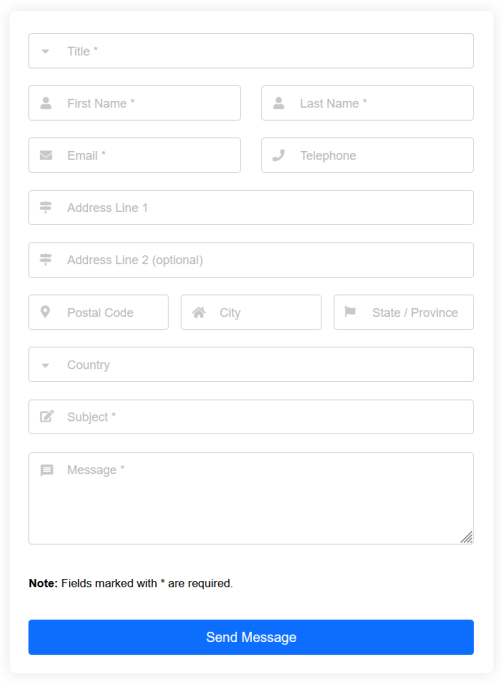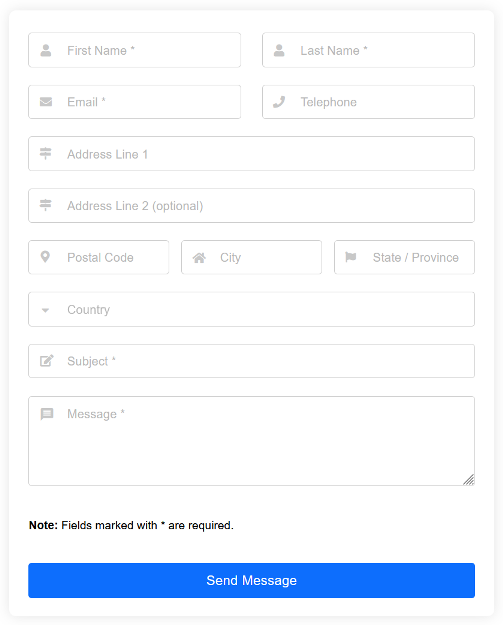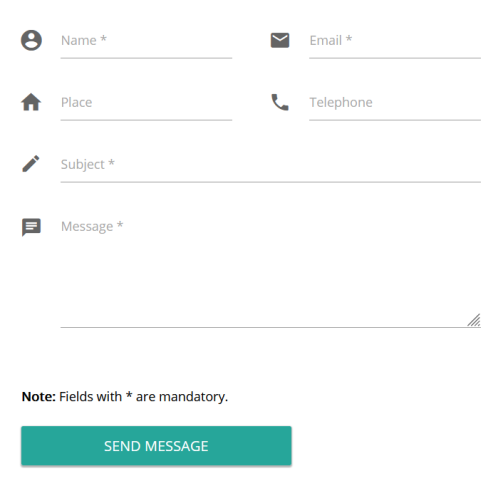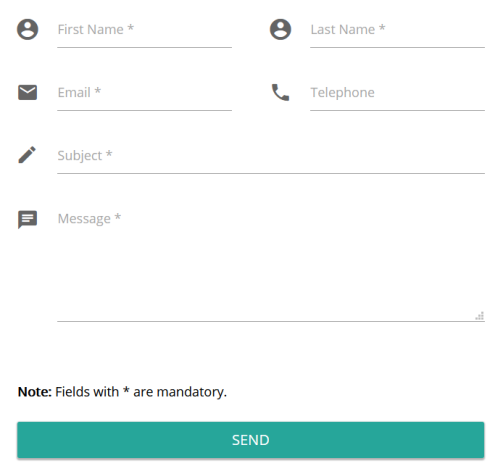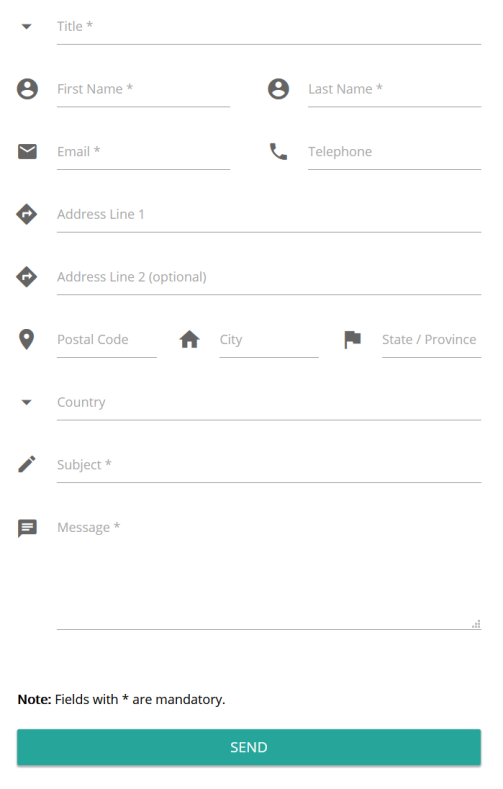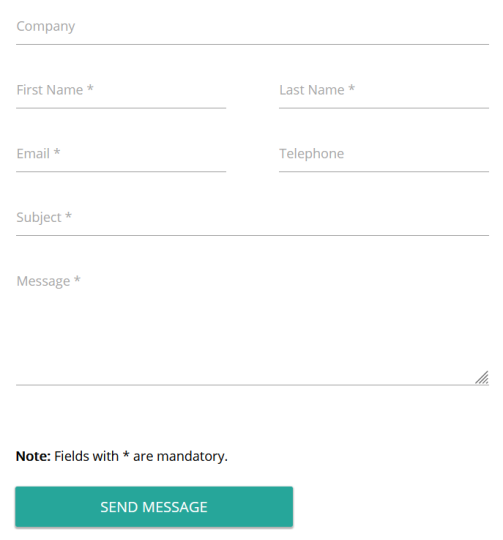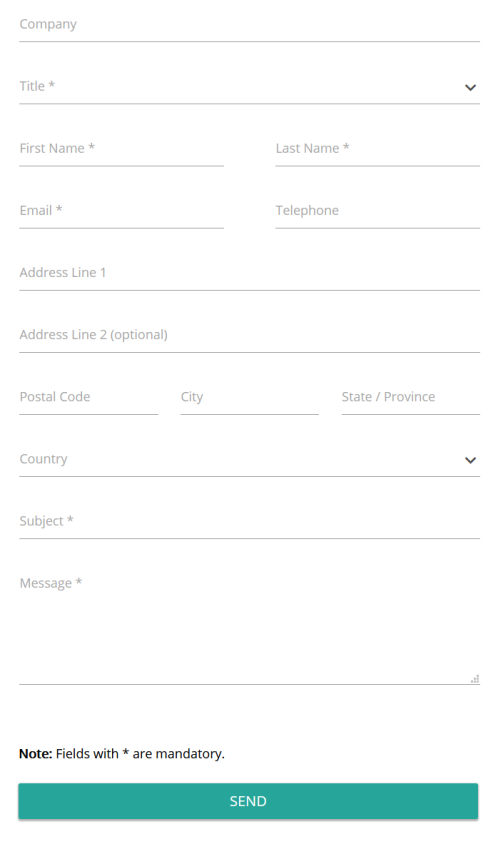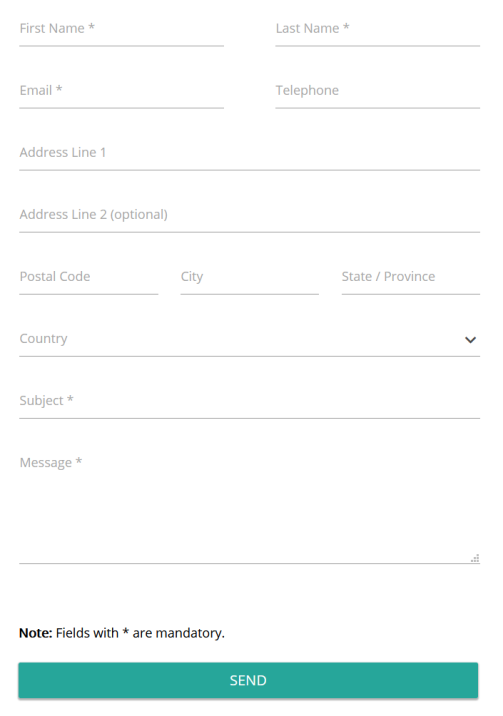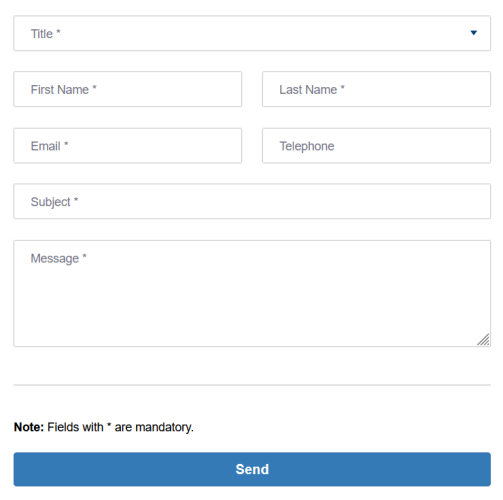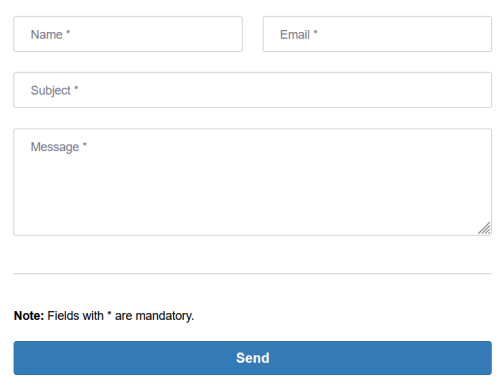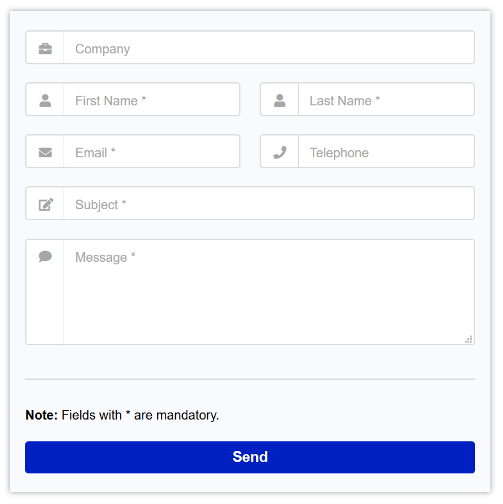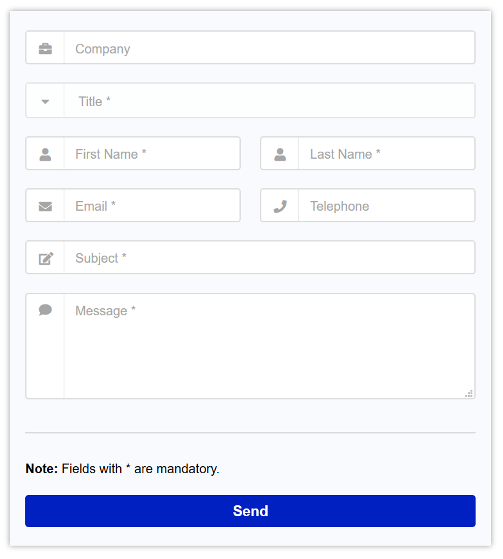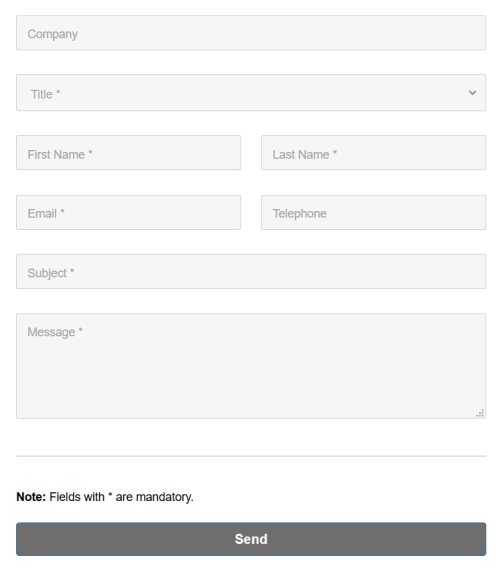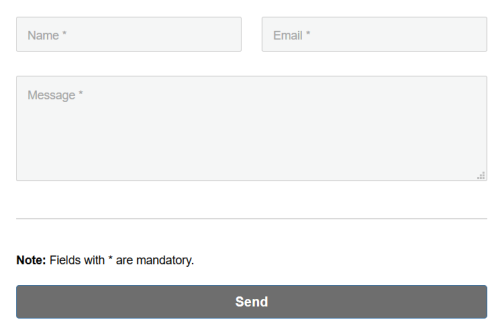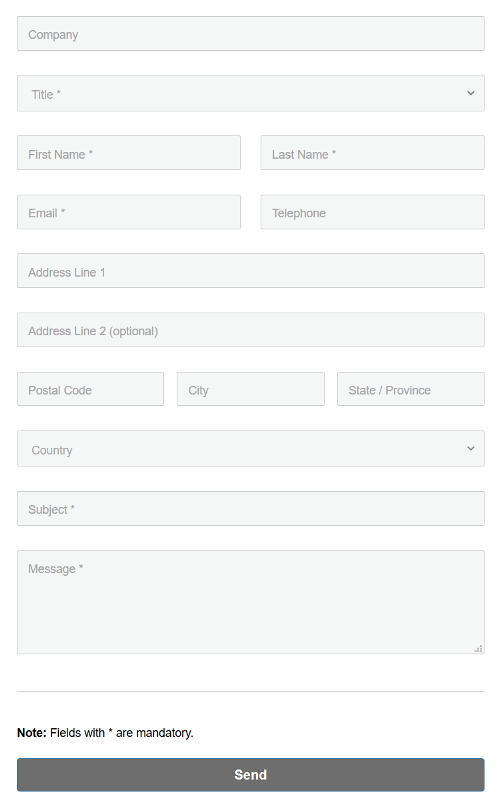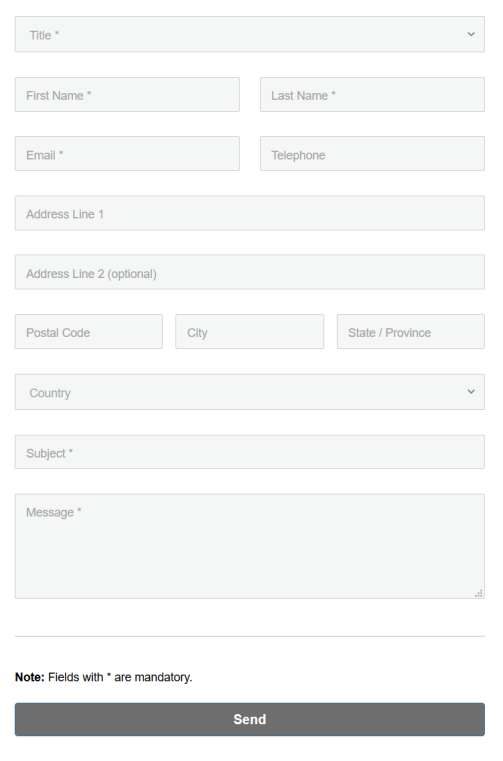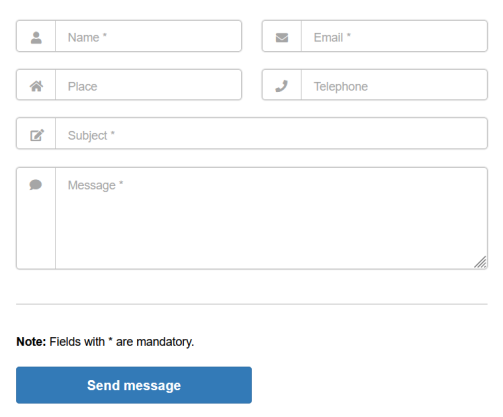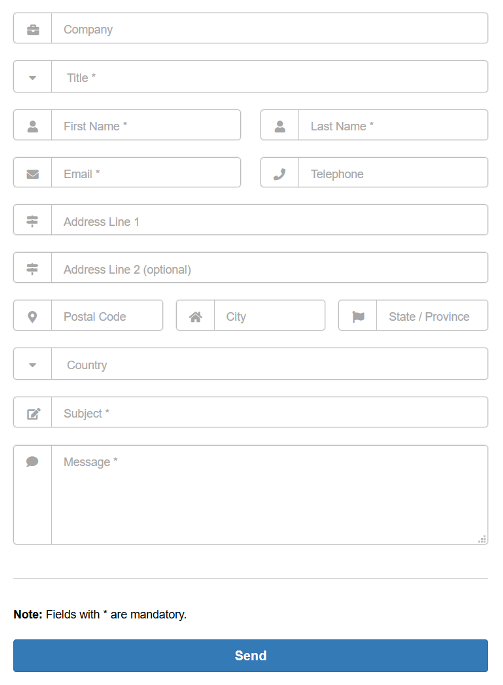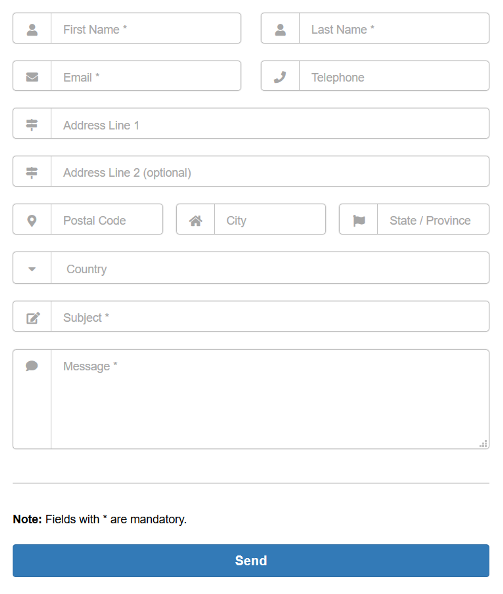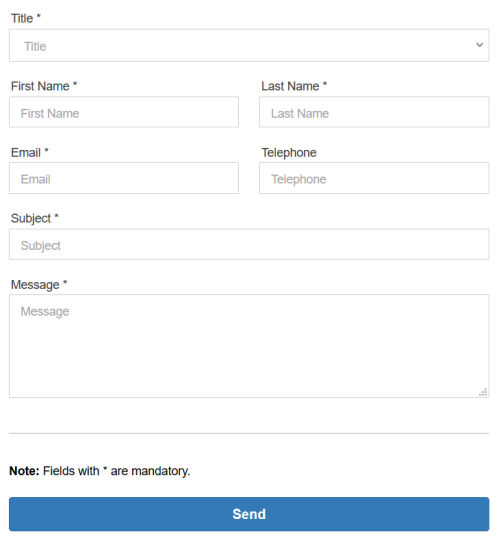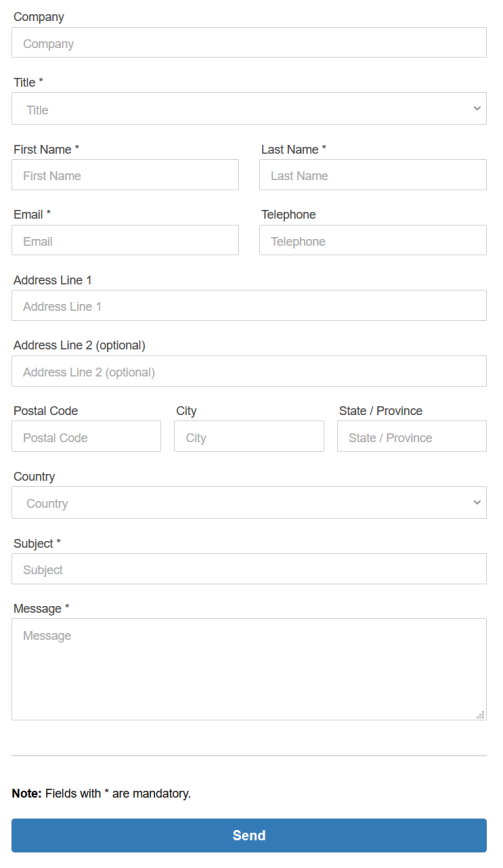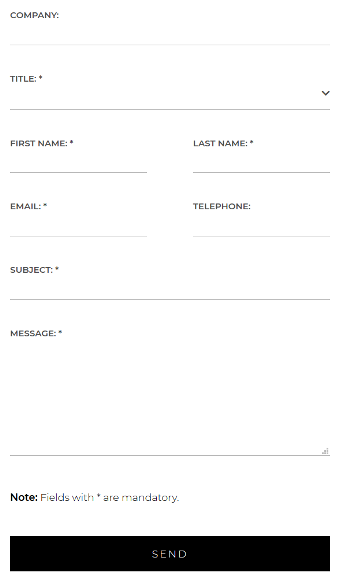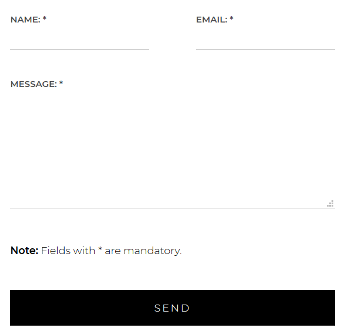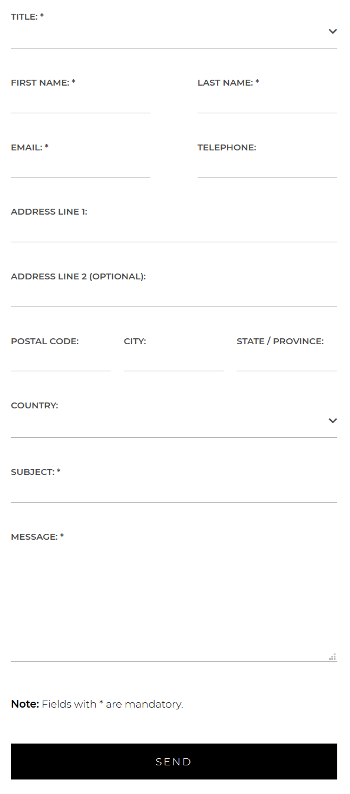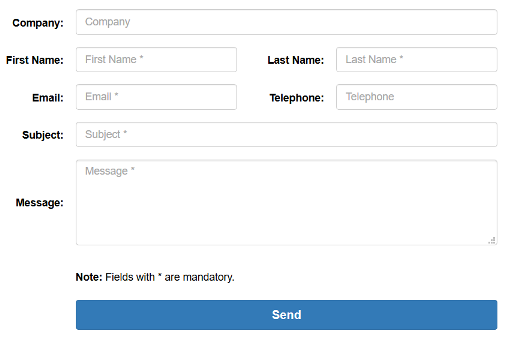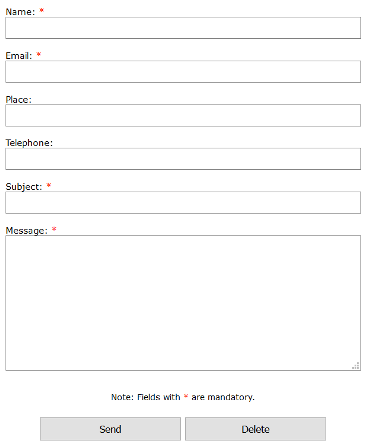
Tutorial: Create a Custom Responsive Contact Form!
Learn how to create your own custom responsive form with this tutorial. It is very easy!
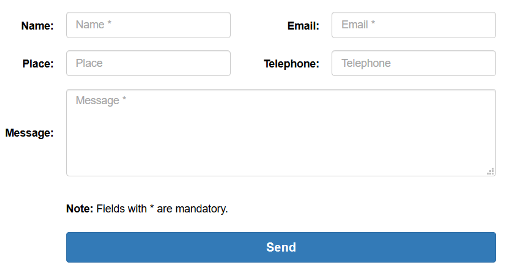
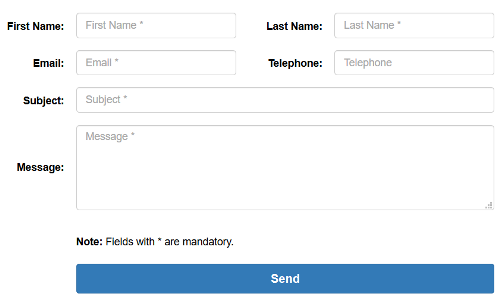
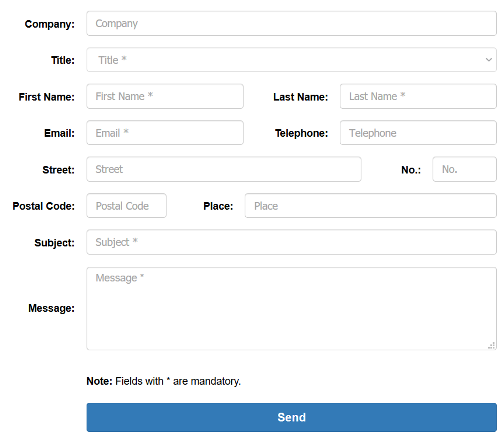
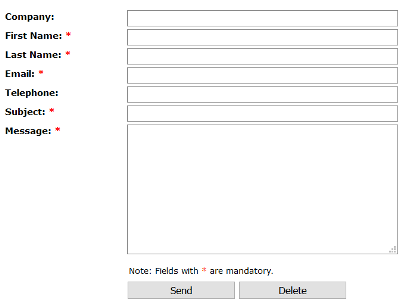
For this tutorial, we’ll be using our contact form script, so you will already have professional anti-spam features in your form. You can repeat the steps as often as you like and add as many fields to your contact form as needed. It is very easy to add more input fields, selectboxes, and checkboxes - you only have to follow the steps described in our contact form tutorial! You can also easily implement design adjustments (define width, change colors, etc.) using the provided instructions!
Use our contact form as a basis to create a custom responsive form of your own!
Your benefits:
- You don’t have to rely on third parties and can send e-mails safely via your own server!
- You are using a professional PHP script as the foundation - © kontaktformular.com!
- Benefit from excellent spam protection features: security code (on/off), security question (on/off), time-out (on/off), bad word filter (on/off), honeypot (on/off), click check (on/off), and link blocker (on/off).
- You can (optionally) use a file attachment or upload function! This allows files to be transferred as well. (Additional options: number of upload fields, allowed file size(s), allowed file extension(s), IP blacklist)
- You can (optionally) use SMTP! By default, the emails are sent using the PHP mail() function.
- You can fully customize our responsive template using the tutorials or through the stylesheet (CSS)!
- You don't need a form maker, form builder, or form app. Our script runs completely independently and can be easily customized according to your needs using the tutorials!
- Compatible with Bootstrap, WordPress, Typo3, Contao, Drupal, Joomla, Contrexx, and CMSimple!
- The form’s PHP and HTML code is well-structured and easy to understand.
- Our FAQ page has answers to common questions concerning layout and technical issues (e.g. BCC recipient, alignment, thank-you page, etc.)
- The contact form complies with the GDPR / EU General Data Protection Regulation (you can activate or deactivate the checkbox).
- Easy integration into your website with our quick guide!
How it Works
Download a suitable contact form (incl. template) from the download page!
Install the contact form on your website.
Select the template you want to edit by clicking on the link "Tutorials: Contact Form – Template *" in the next section (scroll down).
Follow the step-by-step guide to add a select box, checkbox, or another input field. The tutorial pages also include additional instructions for customizing the design (changing colors, width, alignment, etc.). To edit the contact.php file, please use an editor (Windows recommendation: Notepad2; MacOS recommendation: Brackets). Any errors or error messages are addressed on the FAQ page.